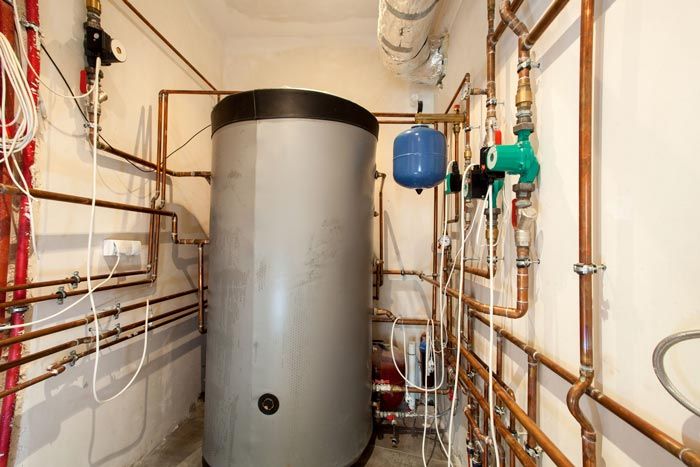
Flush Your Water Heater Once Per Year to Prolong Its Lifespan

Your home's air conditioning system involves a variety of different components, all of which must work together in close coordination in order to meet your cooling needs. If any particular component should cease to behave normally, serious problems may ensue - both for your comfort and for the other mechanical parts of your system.
One common source of problems involves restrictions forming inside of the expansion valve. While you likely don't know much about this component, with the right knowledge you can still pinpoint potential problems it may be experiencing. This article takes a closer look at two signs of a restricted expansion valve.
Why Water Heaters Should Be Flushed Once Per Year
The number one enemy of water heaters is sediment formed by the precipitation of magnesium and calcium. All water contains dissolved magnesium and calcium, which are two abundant and important elements, but hard water contains higher concentrations of both.
The heating process causes these elements to emerge as solid particles which then accumulate at the bottom of the water heater tank. While magnesium and calcium are not harmful to humans, they can create problems for your water heater and its operation.
As an example, the sediment forms an insulating blanket at the bottom of the water heater tank, which prevents the burner or elements from transferring heat to the water. Hot water cannot quickly reach desired temperatures, if at all, and excess heat absorption by the tank causes premature wear and metal fatigue.
Besides treating your water to remove magnesium and calcium, which may not be practical in many instances, the best way to handle the sediment problem is to drain the tank once per year. Below is how you can flush your water heater to force out the accumulated sediment.
How to Perform a Safe Flush of Your Water Heater
The first step to performing a water heater flush is to disconnect the heat source from the water heater. If your unit is gas-fired, turn off the thermostat, then shut off the gas supply valve to the water heater. For an electric unit, turn off the circuit breaker that provides current to the water heater.
Next, allow the water in the tank to cool for a couple of hours or longer. This step will help prevent injuries due to accidental scalding water exposure. As an alternative to waiting, you can turn on hot water faucets inside your home to speed up the process of draining hot water from the tank.
Once the water has cooled sufficiently, attached a garden hose to the water heater drain valve which is near the bottom of the unit. The drain valve has a fitting similar to a hose bib, so a typical 3/4 inch hose should work well. Be cautious when threading the hose onto the drain valve to avoid stripping threads or breaking the valve from the water heater.
Next, route the unattached end of the garden hose to a safe location where it can drain without causing any damage. Do not discharge the hose into another plumbing fixture such as a toilet or bathtub, as the draining sediment could cause clogs.
After you have safely positioned the hose and are ready to drain the tank, slowly open the valve on the water heater. Monitor the discharge from the end of the garden hose to take note of the amount of sediment leaving the tank. You should see a steady stream of sediment along with the water flowing from the tank.
Allow the tank to continue flushing until you notice the amount of sediment leaving the tank has dramatically decreased. At that point, turn off the drain valve and disconnect the garden hose. This will allow the water heater to refill and you can turn on the gas or electricity to restore operation to the unit. Be sure to follow all directions for restarting the water heater as provided by the manufacturer.
Should you have questions about your water heater or you think it may be time for a replacement, be sure to contact Express Plumbing & Drain Service for assistance. Their professionals understand water heater problems, as well as other plumbing issues, and are able to help you with all your needs.


